On the final day of class the only remaining tasks are to level the chair and weave the seat.
Leveling the chair will remove any wobble introduced in the assembly process, allow all four legs to fully contact the floor, and drop the back of the chair about half an inch to make it more comfortable to sit in. Due to the backward splay of the rear legs they only contact the floor on their front tips. We begin by scribing a line around the bottom of each rear leg that is parallel to floor. Here Mark is trimming the rear legs to the line. This will remove a wedge shaped piece from the rear legs and make the bottoms roughly parallel to the floor.

And here is David running a leg over a plane that is clamped upside down in a vise and even with the surface of the workbench. The object is to flatten the bottom of each leg until it fully contacts the floor. Once this is done we check to see if there is any wobble. If there is, we plane the high leg until the wobble is gone.

Finally we glue leather pads to the bottom of each leg with hide glue. I have found leather to be the best material for protecting the floor. It also slides nicely over a hard floor and does not collect dust. To hold the leather pads in place as the glue dries Mark is stretching blue tape tightly over the leather.
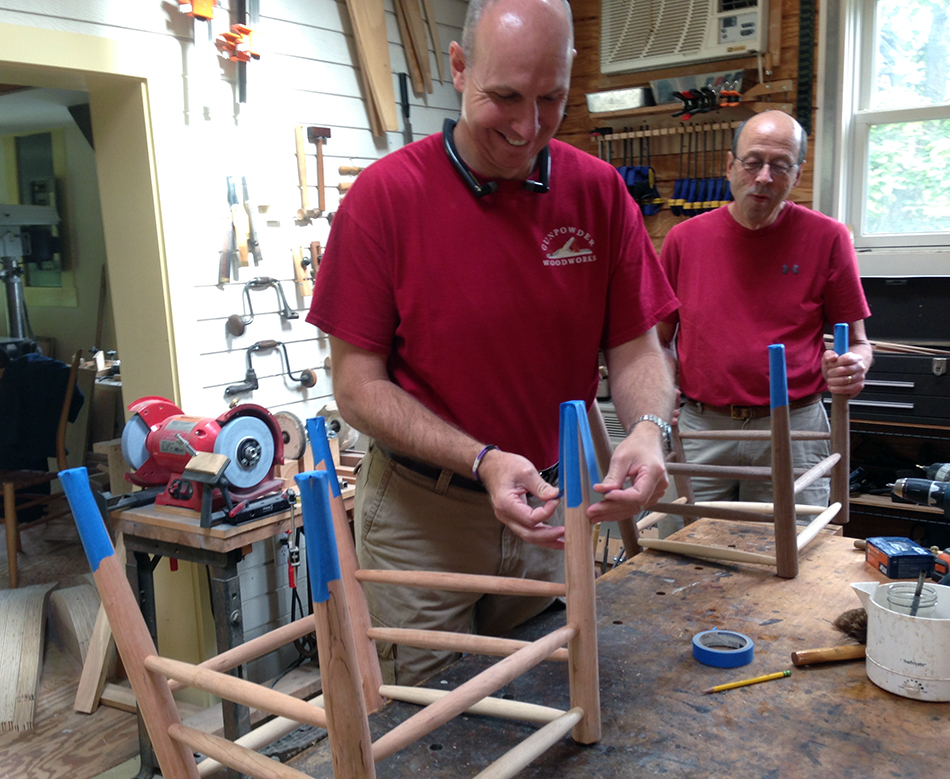
The final task is weaving the seat with hickory bark. On the top of the seat we use a two pattern herringbone twill, where the pattern repeats every four rows forming very strong diagonals when viewed from this perspective. One of the challenges when weaving is keeping the weft (the bark woven side-to-side) from bowing toward the front of the chair. Here Mark is adjusting the weft so that it runs straight across the chair.

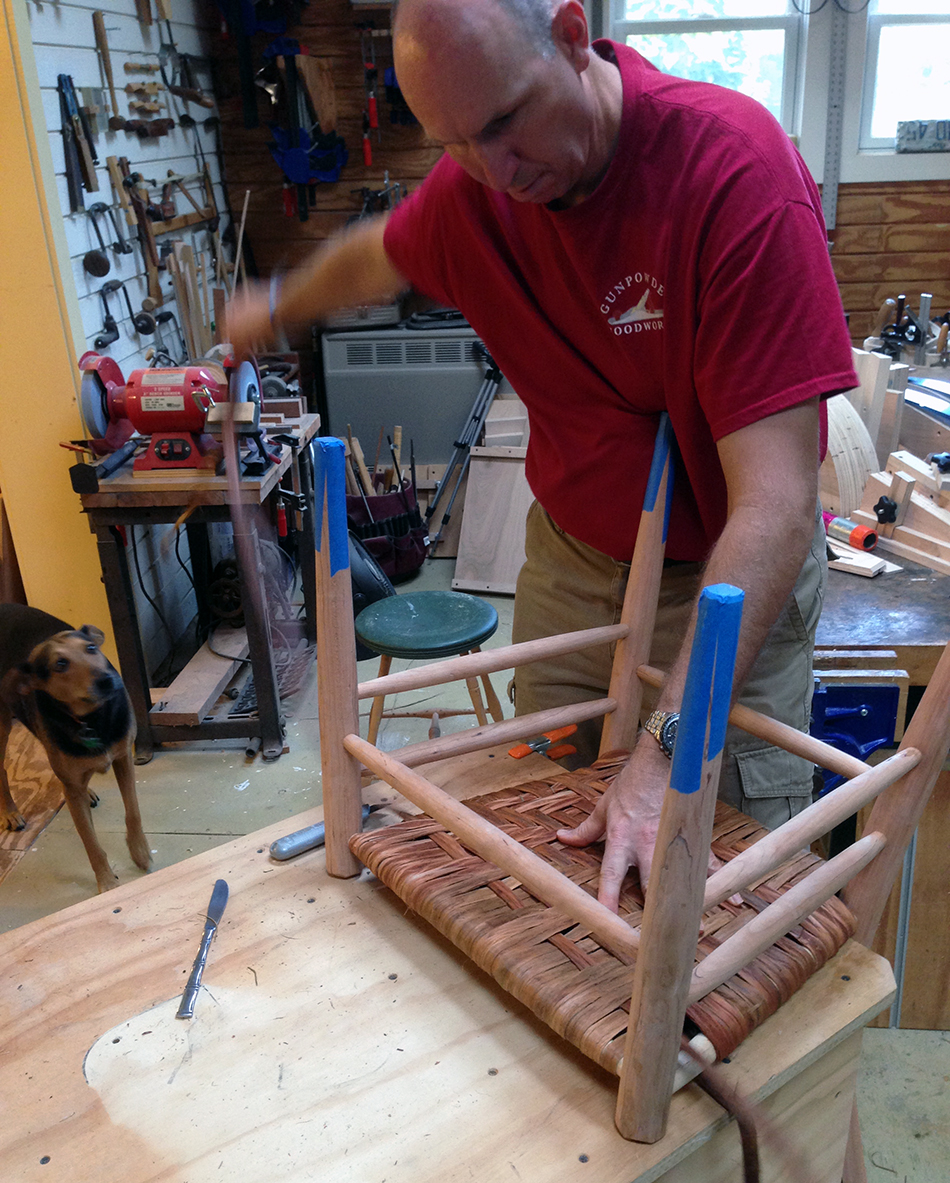
On the bottom of the chair we use a three pattern herringbone twill which repeats every six rows. This pattern weaves more quickly and also makes it easier to cover up splices. Here Mark is pulling a weft through the bottom as my dog, Flora, looks on with apparent interest.
Here’s a top view of Mark’s finished seat. One of the things I love about how we do the weaving is that each warp (the bark running front-to-back) is tapered. Traditionally the warp would run straight back leaving wedge shape areas unwoven on each side. These wedge shaped areas must be filled in with two or three filler warps. It takes more time to weave the seat this way, as each warp must be tapered top and bottom, but the overall effect is more in keeping with the elegance of this chair.

The finished chairs. A job well done by two woodworkers who never made a chair before taking this class.

And a happy chairmaker.

Homeward bound. Here is Mark’s car packed and ready for the trip home.

My goal in teaching these chair classes is to not only send students home with a finished chair, but to also send them home able to make more chairs. To that end I have several options for giving students a head start on building the jigs and forms they will need to build chairs in their home shop. The first is the class manual that includes drawings and dimensions for every jig and form. The second, for an additional fee, is a set of master templates for building bending forms and a slat mortising jig. And the third, also for an additional fee, is a set that includes completely built jigs and forms — 1 rear leg bending form, 2 rear leg drying forms, slat bending form, slat drying form, slat mortising jigs, a set of rung mortising jigs, and slat fitting jigs. There are still a few things students will need to build at home — a steam box and an optional assembly jig — but this set makes it much easier to get started making chairs in your home shop.
Another big plus is that students go home with an 80+ page manual which details the process from beginning to end. The manual reduces or eliminates the need for students to take notes in class, allowing them to focus on learning new skills and paying attention to the big picture. It also provides an excellent reference as they start to build chairs on their own. You can read more about the manuals here.
It’s been a great week, always tiring but very satisfying, and I hope you’ve enjoyed following along. If you are interested in building a chair of your own you can find out more about classes here.