
Assembly Jig for Post & Rung Chairs
Assembling a post & rung chair is often a somewhat uncontrolled, anxiety producing experience. I have seen many hours of work carefully shaping parts ruined by an assembly process that is haphazard and that does not provide the careful control needed to consistently assemble a chair successfully. This assembly jig, which I have used for many years, is my solution to a successful assembly. It gives you complete control over the assembly process, and used in conjunction with hide glue (which has a long open time), allows you to work slowly and deliberately.
This 23 page booklet shows you how to customize the jig to any chair, walks you through an entire chair assembly process, and includes all dimensions. The jig can be built in half a day using just plywood, glue, screws, and a little bit of solid wood.
Sample Pages
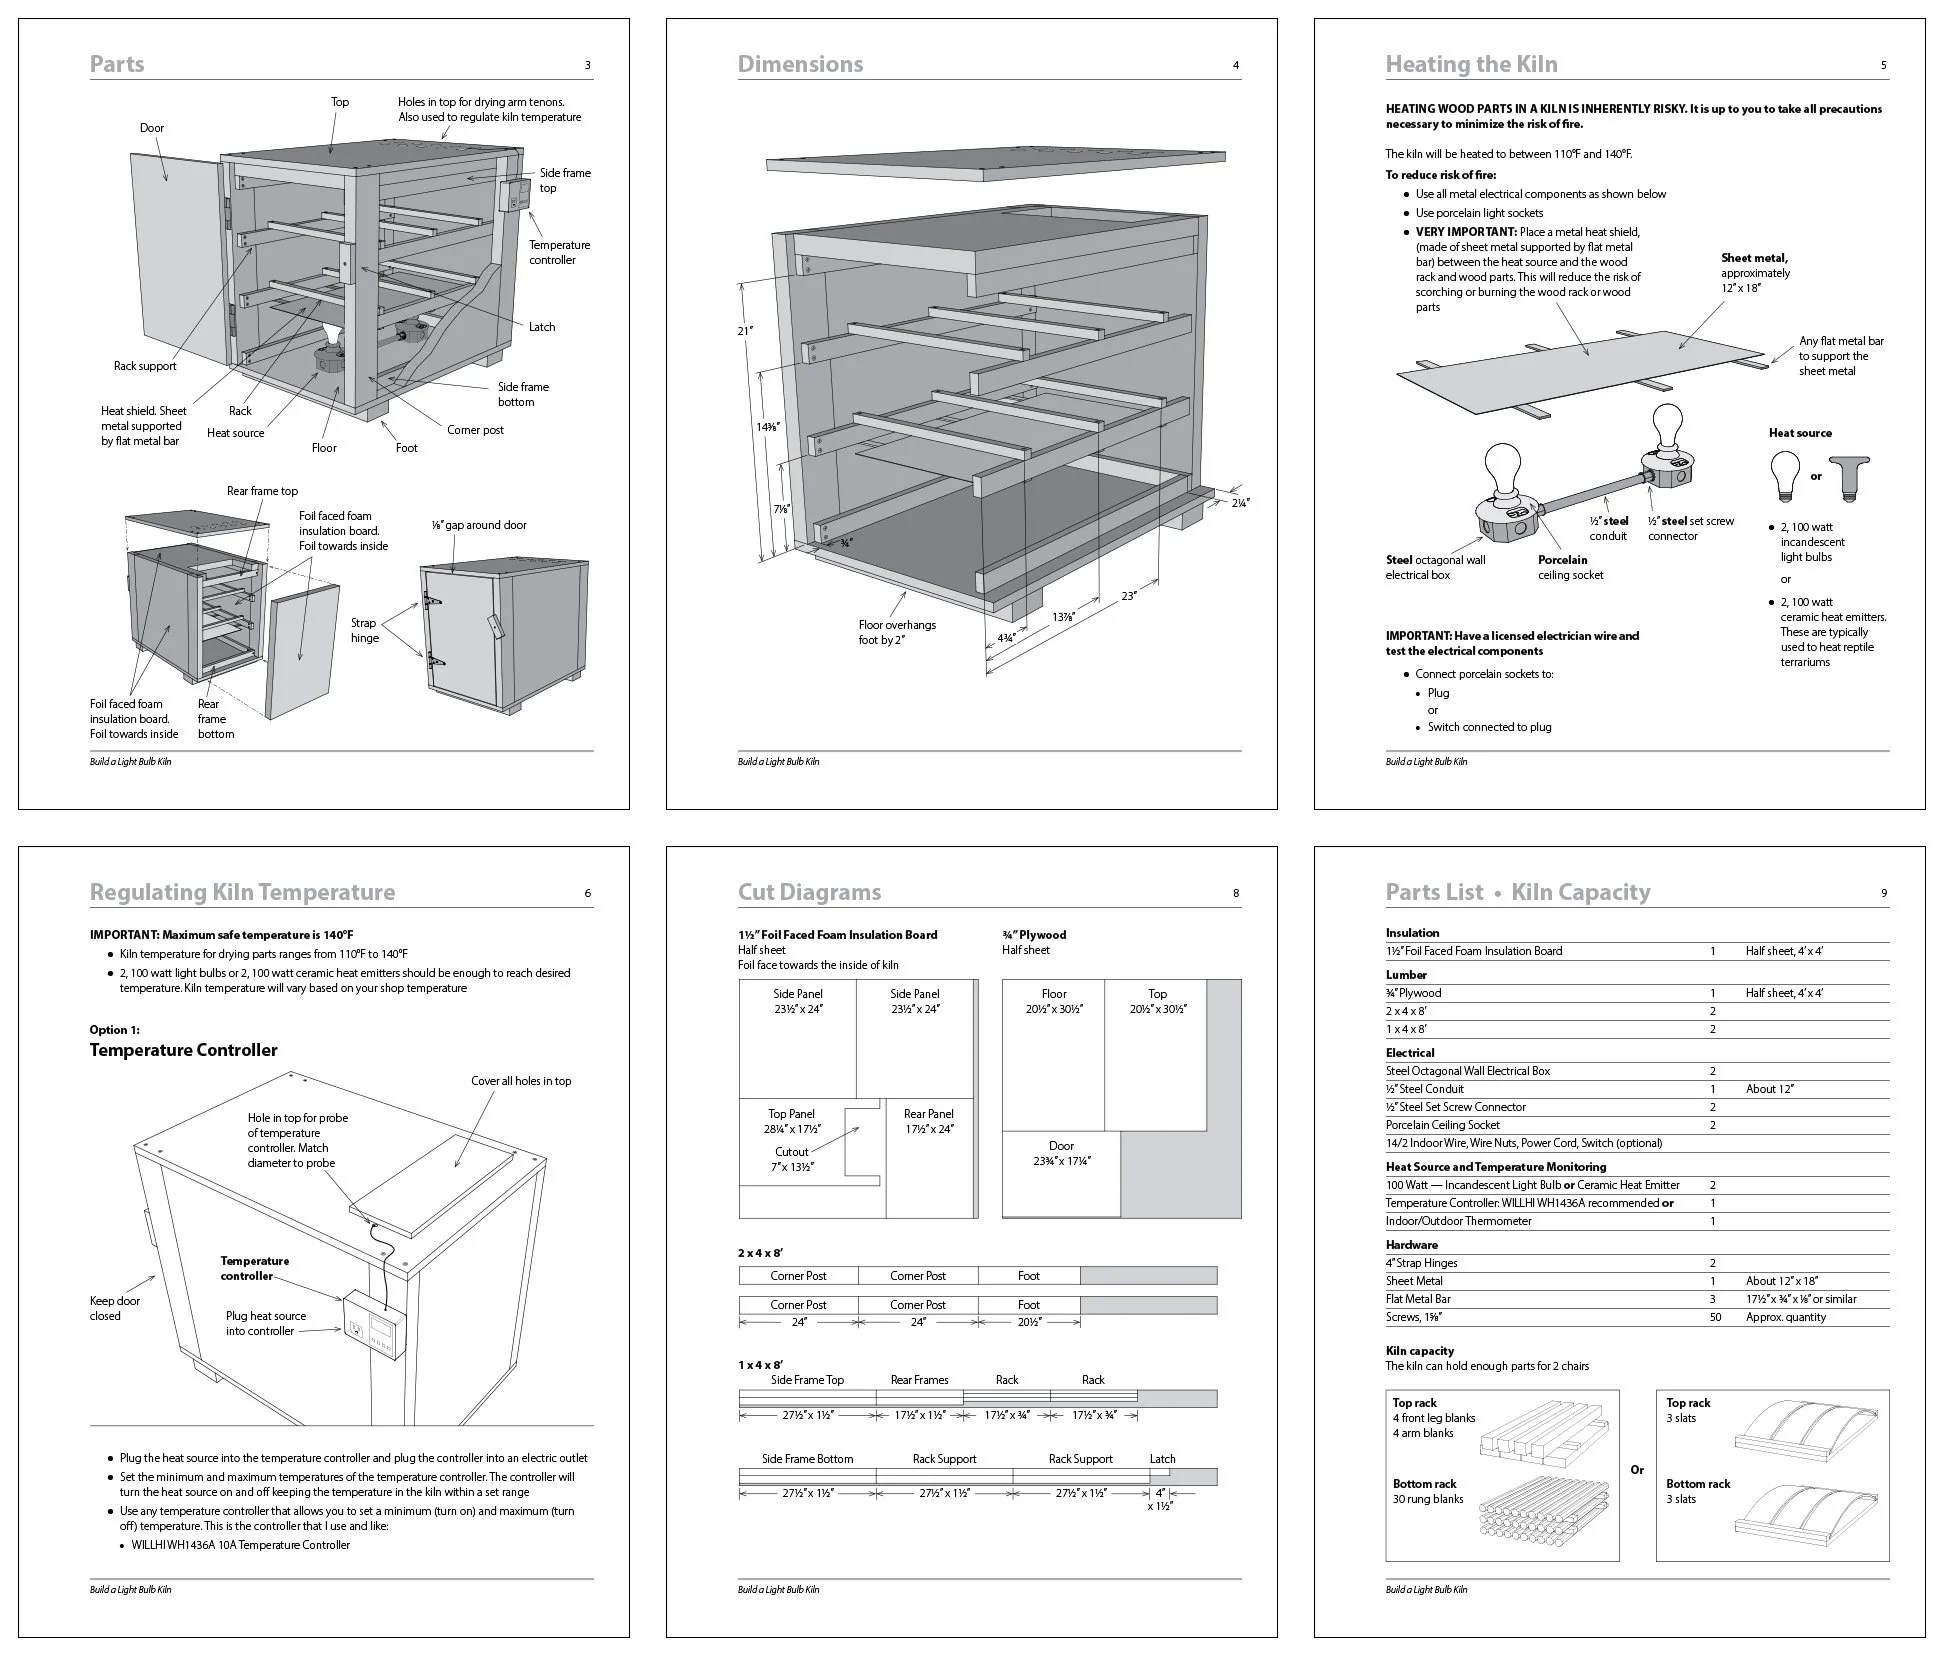
Build a light bulb Kiln
Updated with a second method for safely regulating the heat

Light bulb kilns are used primarily to dry parts like rungs to a super dry state, about 4%. This is a key component of making a strong joint. Because chairmakers often use air dried wood, this kiln can also be used to get the moisture content of parts like front legs and arms down to a usable percentage, usually about 8%. And it can even be used to dry slats after steam bending.
This kiln is based on the one I’ve used in my shop for many years. I’ve customized the design for people building a few chairs in their home shop by making it smaller and easier to build. For folks building Boggs chairs it can hold enough parts for 2 chairs.
Light bulb kilns were traditionally heated by 100 watt incandescent light bulbs. These have gotten hard to find. But there’s an excellent alternative — 100 watt ceramic heat emitters that are typically used to heat reptile terrariums. They screw into the light socket just like a light bulb and produce an equivalent amount of heat.
I’ve updated this version of the booklet with a second method for regulating the heat — using a temperature controller. Just set the minimum and maximum temperatures of the temperature controller and it will turn the heat source on and off keeping the temperature in the kiln within a set range.
This 9 page booklet includes all dimensions, recommended electrical hardware, 2 methods for safely regulating the heat, a cut list, and parts list.
Sample Pages
Video: Shape a chair leg by hand
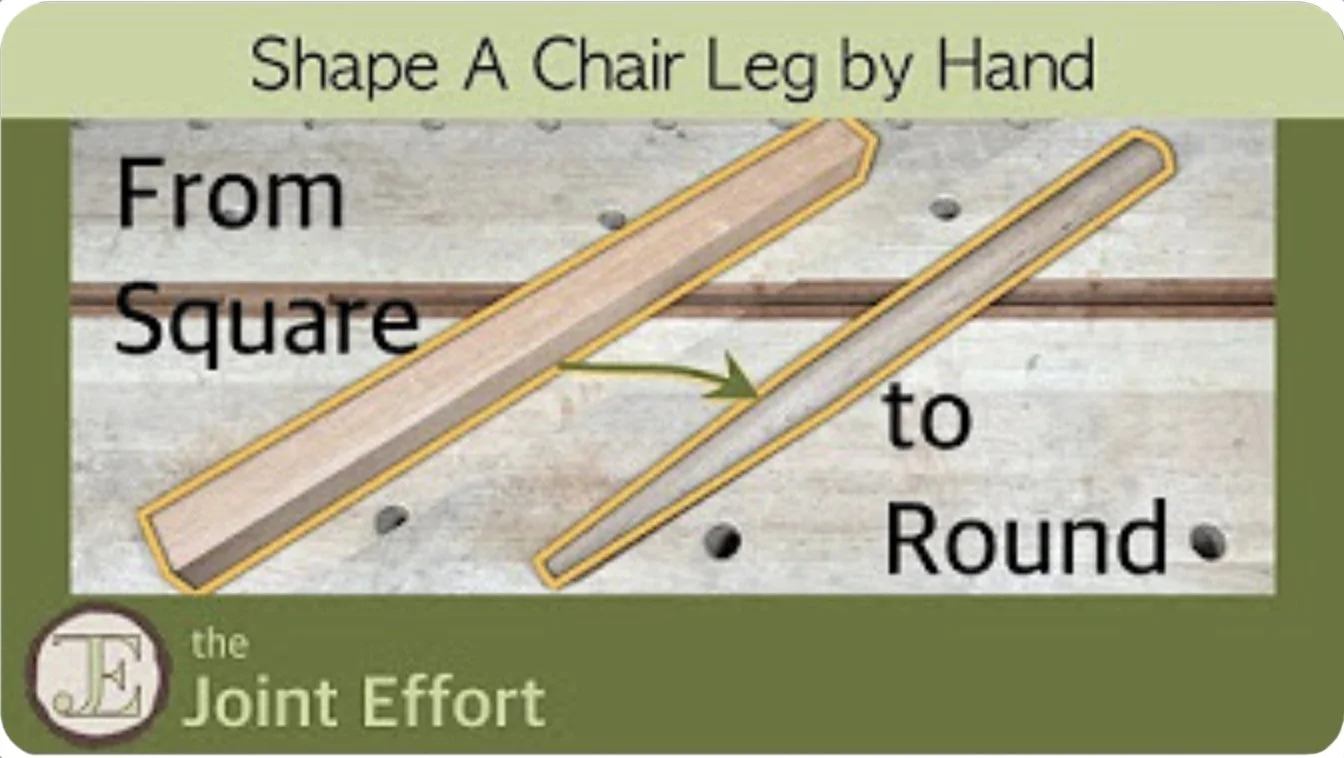
Marks Hicks and I describe the process for shaping a chair leg from a square blank to a round leg with a taper using a drawknife and a spokeshave. While this video focuses on shaping a front leg, the principles can be applied to rear legs that are typically steam bent into a curved shape.
Watch the 12 minute summary video or watch the more detailed individual videos which dig deeper into the process.
Video: understanding post & Rung Chair geometry
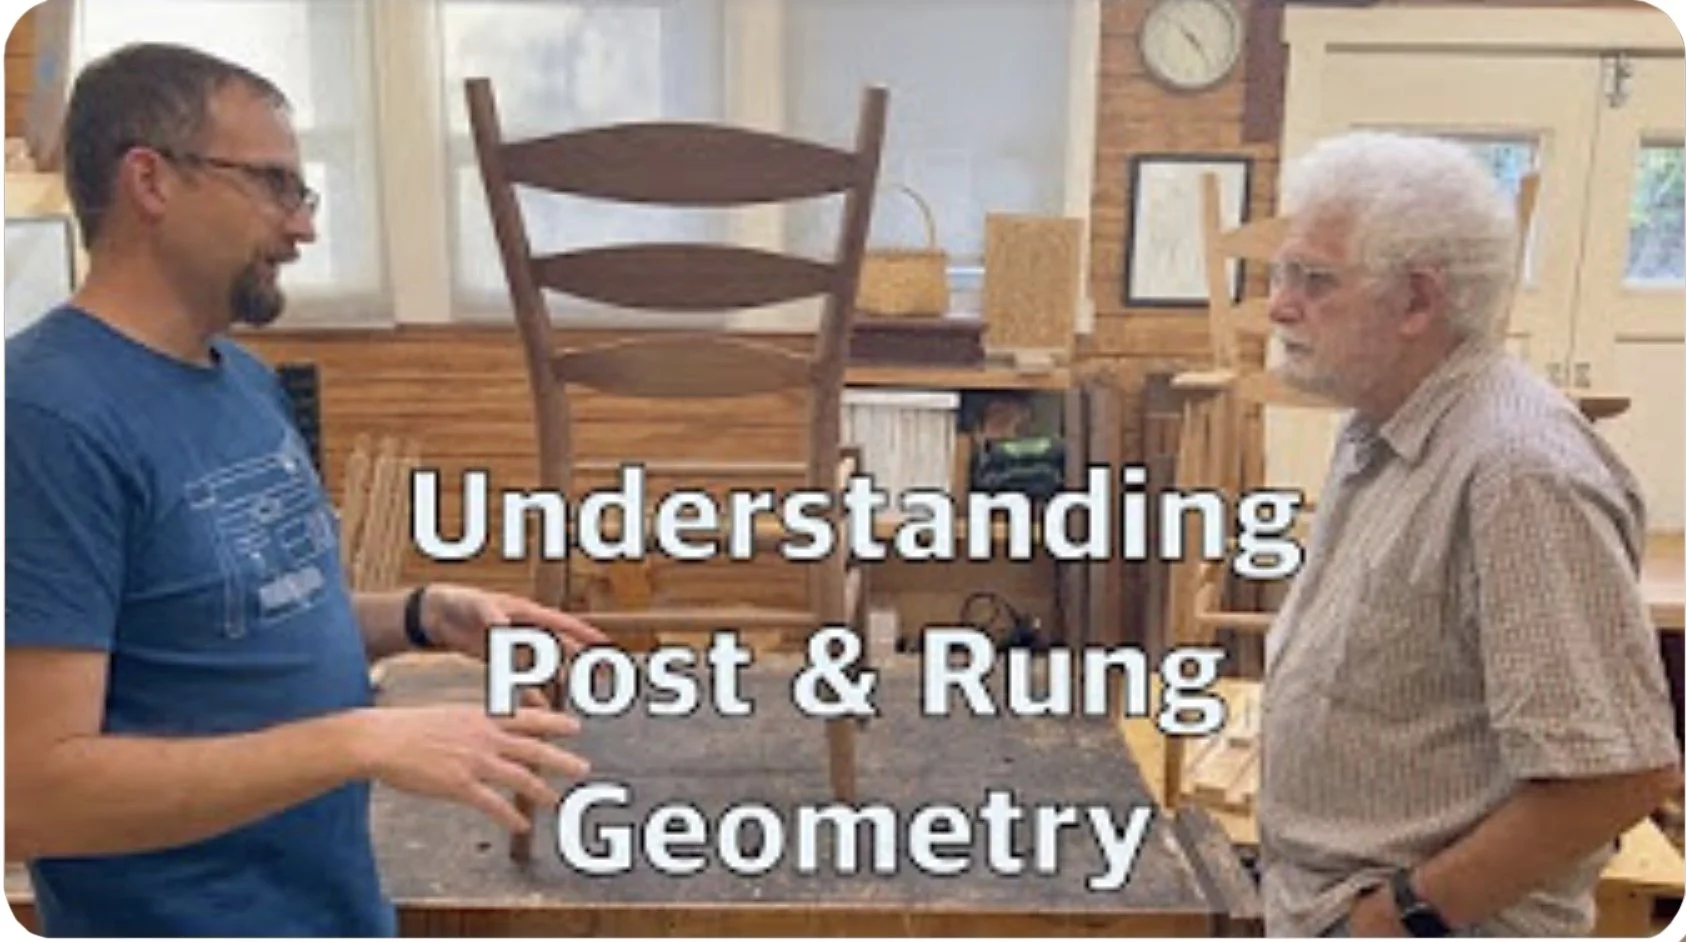
In this video, Mark Hicks and I walk through how to figure out drilling angles for post & rung chairs and apply that to making simple drilling jigs for use on a drill press. Two assemblies are featured — one with no rake or splay in the legs, and the second with rake and splay in the rear legs. We also discuss how to measure an existing chair for drilling angles and apply those measurements to simple drilling jigs.
Watch the entire 68 minute video or watch each of 10 parts individually.