For anyone who has taken a woodworking class the need to take good notes, so that you can reproduce what you learned in class in your home shop, can be daunting. Not only is it hard to take notes that are clear and easy to use once you get home, it also eats into the time you can be working on and learning new skills in class. And, it’s often hard to keep up with the instructor, finishing up note-taking on one process while the instructor has moved onto something else. For all of these reasons, and more, in 2010 Brian asked me to develop a manual for the rocker class that he was going to teach a couple of months later. This was the beginning of the class manuals that have become an integral part of each class that Brian has taught since then, and for each class that I teach in my shop.
It has been an interesting journey. When I started chairmaking about 10 years ago I was looking for a creative outlet that satisfied a need to work with physical objects—something my job as a graphic designer, although interesting and challenging, did not do. I found that I loved the processes and tactile nature of putting a chair together, especially as taught by Brian, and loved sharing that with others. In class I found I took really good notes and more than once fellow class mates asked for copies. So, combining my skills as a graphic designer with my passion for and understanding of chairmaking seemed like the natural next step. Now graphic design, in the form of the class manual, has a meaning and purpose for me that it never did when it was just a job.
Along the way I have had to learn some new skills—as a graphic designer I was given text and images and my task was to lay them out on the page in an effective manner. For the manuals I start with a blank page, having to write and illustrate, in addition to page layout. There have been many surprises. For instance, I remember thinking about how to explain the process of creating and installing the distinctive pyramid pins that hold the slats in place, expecting it to take a page and a few illustrations. Three pages, ten illustrations, and many hours later it was done, as shown here.

Another challenge is how to explain each process as clearly as possible. Here are a couple of pages from the Post & Rung Side Chair manual that explain in detail how to shape a rear leg from the point that the leg is still rectangular in cross section all the way through the decorative shaping of the ears.

The manuals continue to improve as I find better ways to explain and illustrate each process. Much of this comes from my experience teaching, seeing what makes sense to students. Here are two pages that explain how to trim the rear leg after it is bent. The page on the left is the original, and the page on the right is an improved version with much clearer illustrations.

The manuals also include illustrations and dimensions for every jig and form used for that chair. Most of the jig and form illustrations are included within the body of the manual alongside the description of the process for using them as shown in the page on the left about steam bending the slats. There is also a small section at the end of each manual for additional jigs not shown within the body of the manual. The center page is the story stick for the chair, and the page on the right is the first of two pages showing dimensions for the platform mortising jig.

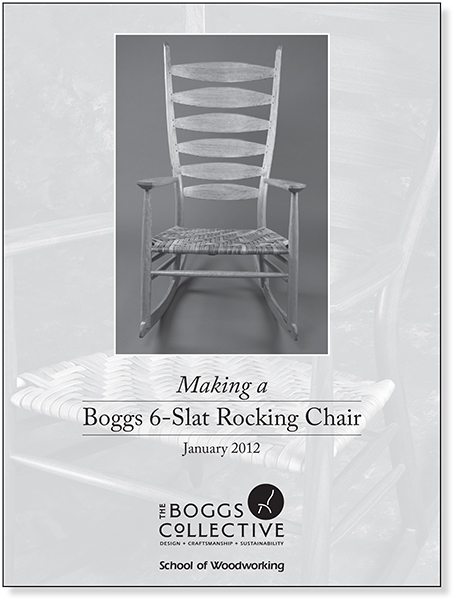
The manuals capture the design and techniques that Brian has developed over 30 years as a chairmaker, and allow the student to make an authentic Boggs chair using the same techniques that Brian does. They have made it easier for Brian and me to teach, easier and less frantic for the student to learn, and easier for students to apply the skills learned in class at home. They average about 70–80 pages each and there is one for each class—Post & Rung Side Chair, Classic Side Chair, Arm Chair, and Rocking Chair. A manual is included in the cost of each class.
The manuals are also available to students who have taken classes with Brian in the past. They cost $50 each + shipping and come in a 3-ring binder for easy reference in the shop. Although they contain lots of very good information, the manuals are not a substitute for taking the class, which is why we only sell them to former students. They have been written specifically as a companion to each class, not as a stand-alone comprehensive book. And, like very good class notes, they are step-by-step reminder of the processes and techniques taught and experienced in class, along with jig and form dimensions. Please email me if you are interested in purchasing one.