
Learn the craft of ladderback chairmaking

Free plans like Assembly Jig for Post & Rung Chairs and Build a Light Bulb Kiln plus links to free chairmaking videos.
Expanded Class Manuals
for the Boggs 3-Slat Post & Rung Side Chair or the Boggs 3-Slat Arm Chair
PDF Download

Side Chair Manual

Arm Chair Manual
If you are unable to take an in-person class, these fully illustrated manuals, which have been rewritten and expanded, are the next best way to learn how to build these beautiful chairs. The text and illustrations guide you through the process of building a chair including milling and drying parts, steam bending rear legs and slats, hand shaping parts with drawknife and spokeshave, drilling mortises into angled and curved parts, assembly with hide glue, and seat weaving.
Every jig and form needed to build the chair is fully illustrated along with complete dimensions. And a separate file includes full size drawings of bending forms and other templates.
The PDF file can be viewed on a tablet or computer and internal links make it simple to navigate to exactly the information you are looking for.
For easy reference in the shop, the PDF file can also be printed to letter size pages and is designed to fit in a 3-ring binder.
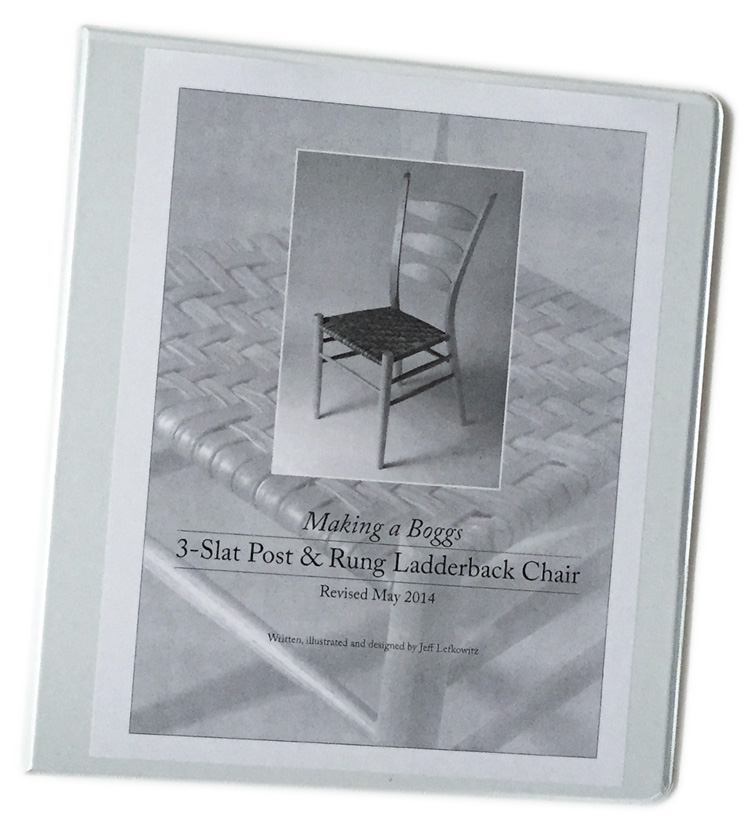
Making a Boggs 3-Slat Post and Rung Side Chair, 116 pages with 240 illustrations
Making a Boggs 3-Slat Arm Chair, 131 pages with 275 illustrations
Available as individual manuals or as a bundle of both manuals

Boggs Post & Rung Side Chair
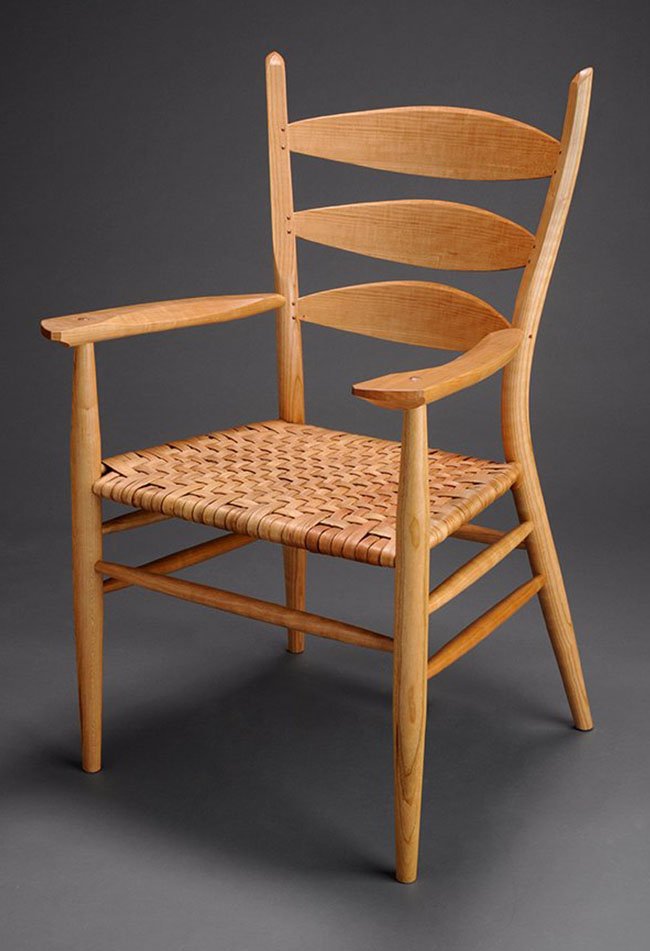
3-Slat Boggs Arm Chair
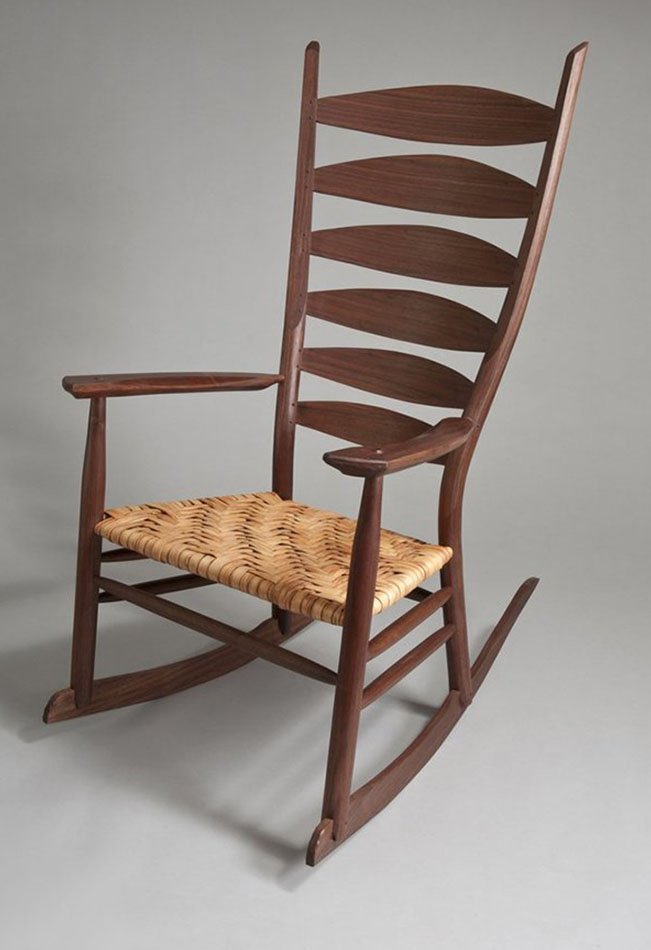
6-Slat Boggs Rocking Chair
Each class takes you step-by-step through the process of hand crafting a Brian Boggs designed chair. They cover every aspect of making a ladderback chair, beginning with lumber selection all the way through final assembly using hide glue. Every process is broken down into small, manageable steps so that you can concentrate on mastering one task at a time before moving onto the next. Whenever a new process is introduced, especially when hand shaping parts, you are given the opportunity to practice on spare material before working on your actual chair part.
THE CLASSES COVER MANY ASPECTS OF MAKING A LADDERBACK CHAIR INCLUDING:
Steam bending
Hand shaping parts using a drawknife, spokeshave and scraper
Working with angles and curved parts
Using moisture content and grain orientation to make a long-lasting joint
Assembly using hide glue
Sharpening chairmaking tools
Seat weaving
Class manual
Each class includes an 110+ page, fully illustrated manual, that documents the process for building your chair from beginning to end. It serves as a step-by-step reminder of the steps taught in class. Because the manual is so complete it minimizes or eliminates the need for you to take notes. This allows you to spend all your class time learning new techniques and working on your chair. The manual also has detailed drawings of every jig and form used in the chair. This will give you a huge head start when you begin to make that next chair in your own shop.