I am in the middle of two weeks of teaching and don’t have time to work on the next post in the side chair build series. As an alternative I thought it would be fun to document the class I am teaching this week. I have two students—Mark Hochstein and David Blois. Both are experienced woodworkers, but have little or no experience making chairs so the processes and approaches to working wood in this context will be new for both of them.
The first step in the process is selecting wood for the rear legs. We begin with a rough milled board and evaluate the long grain and end grain. Here David and Mark are choosing the best blanks for bending the rear legs.

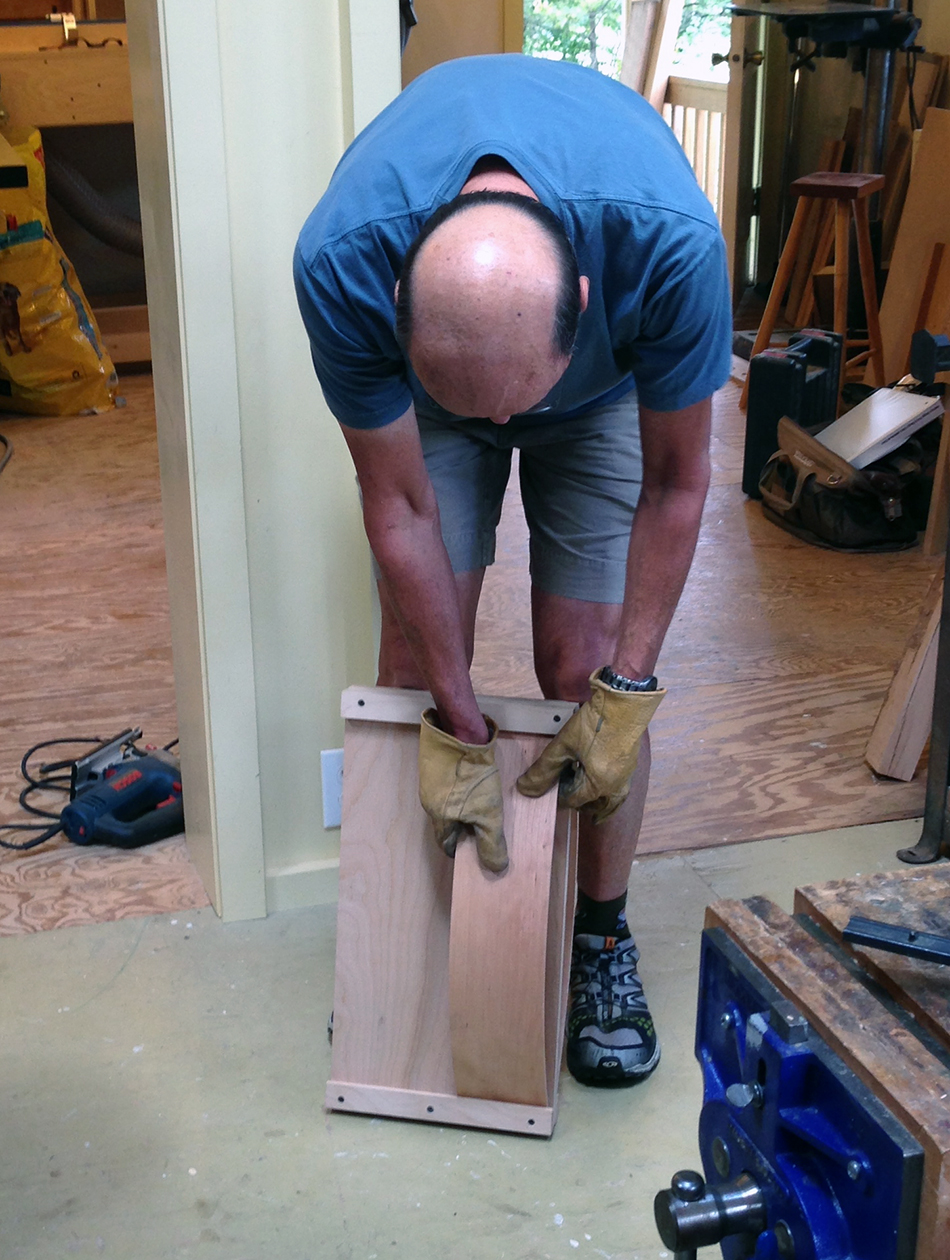
After milling the blanks and steaming for two hours it’s time to bend the rear legs. The cherry legs bend very smoothly. After Mark bends the blank, David hammers in a wedge to hold it in place.

Next the slats are steamed for 15 minutes and David is ready to bend it in this form where it is held in place for a minute. This form holds the slat in a uniform over bend.

Then he transfers the slat to the drying form which will hold it at the correct angle while it dries.
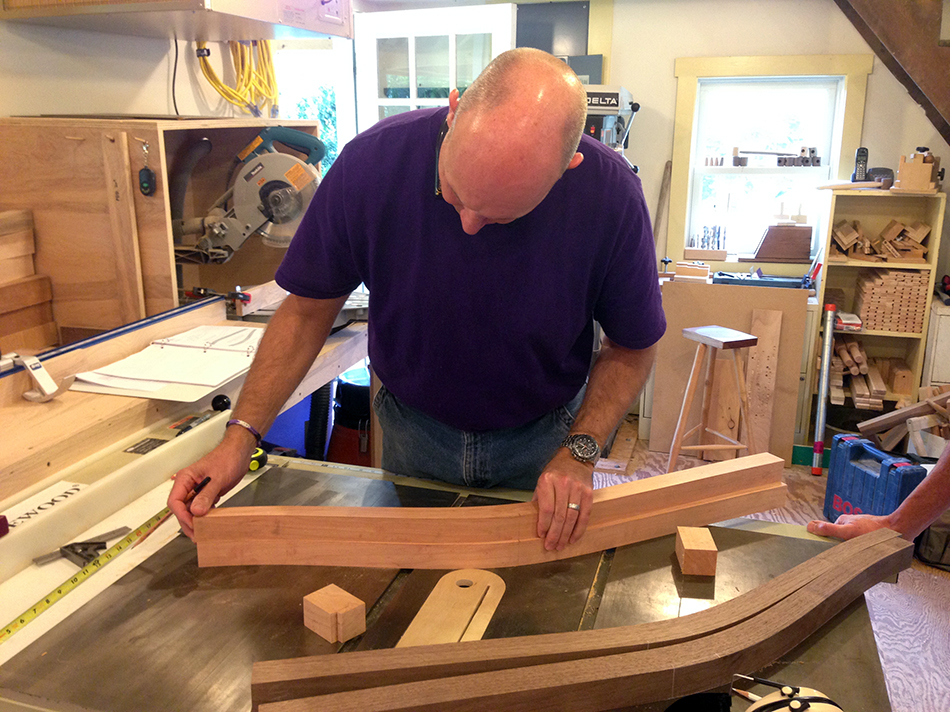
The rear legs and slats that we just bent will need to dry for about a week or so before they are ready to work and will be used by a subsequent student. Here Mark is laying out a relief cut on a pair of cherry legs that were bent a few weeks ago.
After sawing the relief cut on the band saw the next step is to fair out and finish the shape with spokeshaves.
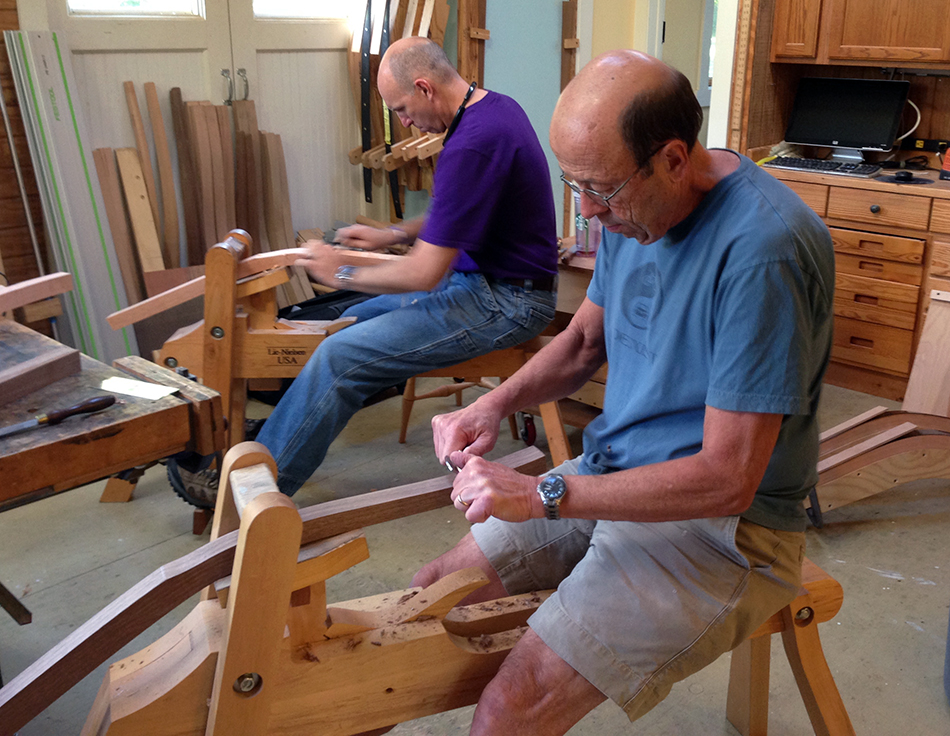
The final step prior for the day is cutting a taper on the inside face of each leg. We do that on the band saw. Here Mark is cleaning up the taper cut with a jack plane.

After a few hours we transferred the rear legs from the bending forms to drying forms and hung them up in this closet along with the slats. The closet is heated with a small radiator to around 110°. It will take a week or so for the parts to dry. Hanging on the left are red oak legs that I bent last week with another student. I’ve had lots of problems with red oak checking as it dries. The newspaper wrapped around the legs keeps the surface from drying too quickly and reduces the chance of checking.

At the end of the day the rear legs are ready for slat mortising.

Check back tomorrow. We’ll be cutting slat mortises and fitting the slats to the rear legs.